Deploying a Node.js application can seem daunting, especially for beginners. However, with the right steps and configurations, you can set up your app on an Ubuntu server using Nginx as a reverse proxy. This guide will take you through the process from scratch, ensuring you have a solid understanding of each step.
Prerequisites
Before you begin, make sure you have the following:
- Ubuntu Server: A running instance of Ubuntu (16.04 or later).
- Node.js and npm: Installed on your server. You can check if you have Node.js installed by running
node -vandnpm -v. If not, follow the installation steps below. - SSH Access: Access to your server via SSH.
- A Domain Name (optional): For production applications, a domain name is highly recommended.
Update Your System
First, connect to your Ubuntu server via SSH. Once logged in, update your package index and upgrade your installed packages:
sudo apt update
sudo apt upgrade
Install Node.js and npm
You can install Node.js and npm using the NodeSource repository. To do this, first install the required packages:
sudo apt install curlThen, download and execute the installation script for Node.js. You can choose the version you need (e.g., 18.x):
curl -fsSL https://deb.nodesource.com/setup_18.x | sudo -E bash -
sudo apt install -y nodejs
Verify the installation:
node -v
npm -v
Create Your Node.js Application
Now, let’s create a simple Node.js application. For demonstration purposes, we’ll create a basic “Hello World” app.
Create a new directory for your application:
mkdir myapp
cd myapp
Initialize a new Node.js application:
npm init -yCreate an index.js file:
vim index.jsAdd the following code to index.js:
const http = require('http')

const hostname = '127.0.0.1'
const port = 3000

const server = http.createServer((req, res) => {
    res.statusCode = 200
    res.setHeader('Content-Type', 'text/plain')
    res.end('Hello World\n')
})

server.listen(port, hostname, () => {
    console.log(`Server running at http://${hostname}:${port}/`)
})
Save and exit the file.
Install and Configure Nginx
Next, install Nginx:
sudo apt install nginxAfter installing Nginx, you can configure it to act as a reverse proxy for your Node.js application.
Create a new configuration file for your application:
sudo nano /etc/nginx/sites-available/myappAdd the following configuration to the file:
server {
    listen 80;
    server_name your_domain.com; # Replace with your domain name or IP

    location / {
        proxy_pass http://127.0.0.1:3000; # Your Node.js app runs on port 3000
        proxy_http_version 1.1;
        proxy_set_header Upgrade $http_upgrade;
        proxy_set_header Connection 'upgrade';
        proxy_set_header Host $host;
        proxy_cache_bypass $http_upgrade;
    }
}
Save and exit the file.
Enable the new configuration by creating a symbolic link to sites-enabled:
sudo ln -s /etc/nginx/sites-available/myapp /etc/nginx/sites-enabled/Test the Nginx configuration for any syntax errors:
sudo nginx -tIf everything is okay, restart Nginx:
sudo systemctl restart nginxRun Your Node.js Application
To run your Node.js application, execute:
node index.jsYou should see a message indicating that the server is running.
Install a Process Manager
To keep your Node.js application running in the background, install a process manager like PM2:
sudo npm install pm2 -gStart your application with PM2:
pm2 start index.jsYou can also set it to start on boot:
pm2 startup
pm2 save
Access Your Application
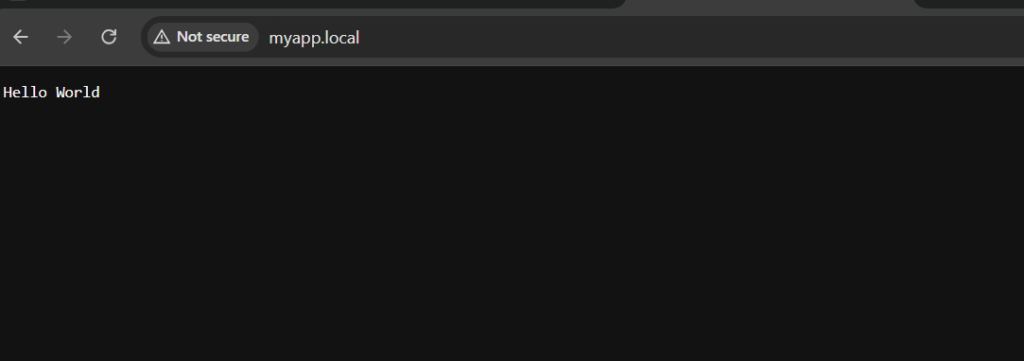
Now, open your web browser and navigate to http://your_domain.com (replace with your actual domain or IP address). You should see the message “Hello World”.

Congratulations! You have successfully deployed a Node.js application with Nginx on an Ubuntu server. This setup provides a robust foundation for serving your applications with high performance and scalability.